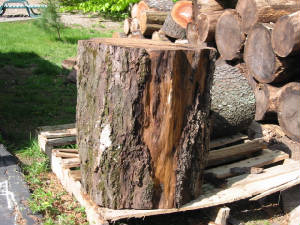
This urn was made from this butternut log, which was grown in New
Jersey.
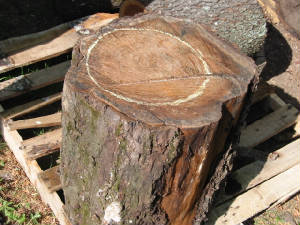
The log is marked with chalk, showing where to chainsaw the rough
blank.
The pith (center) of the log runs through the middle of the piece.
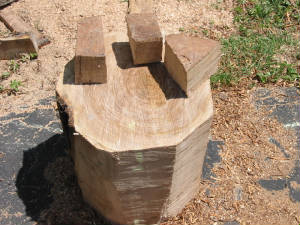
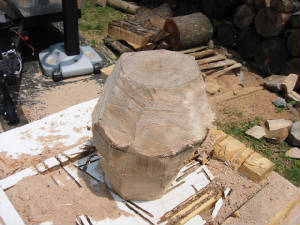
The log is cut into a rough cylinder with the chainsaw.
The blocks on top will be used later as plugs to replace the unstable pith.
I drew a line around the log at the point that would
become the largest diameter of the urn.
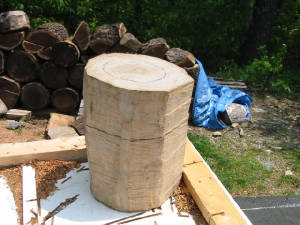
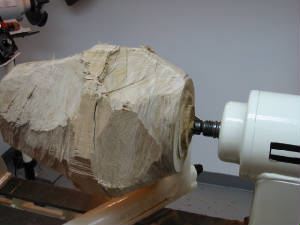
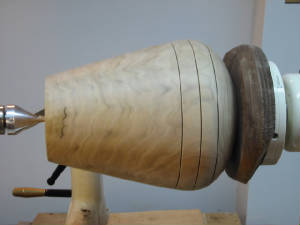
The cylinder is rough shaped further using the chainsaw.
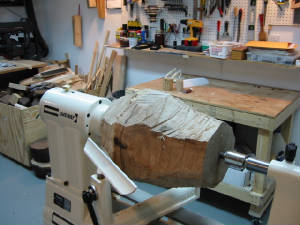
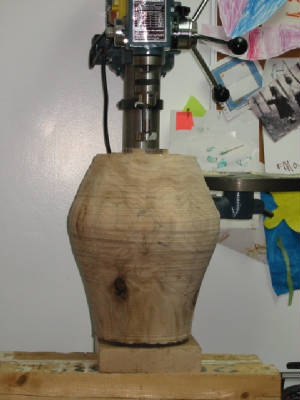
The blank is mounted between centers on the wood lathe.
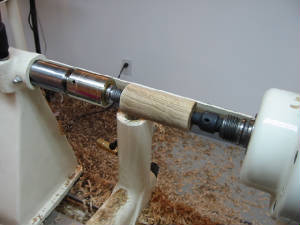
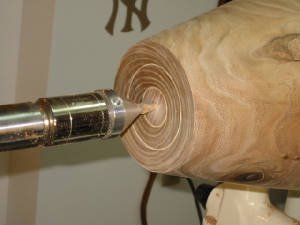
Tenons are turned at the top and bottom,
so the piece can later be held in a chuck.
The small blocks (pictured earlier sitting on top of the log)
are now turned into plugs, which will be glued
into the top and bottom of the urn, replacing the unstable pith.
At the drill press, I drill a recess into the top and bottom of
the urn
using a 1½" forstner bit, about 2" deep.
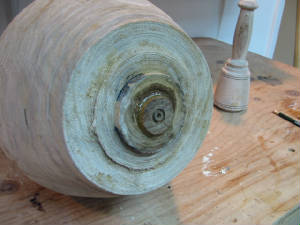
The drilled recess.
The recess with the turned plug glued in.
Again, this is done to replace the unstable pith material,
where cracking would be likely as the wood dries.
The plug is trimmed flush with the bottom of the tenon.
The urn is remounted on the lathe using a chuck to grab the tenon
at the top.
The section that will become the top of the urn is cut off,
first using a parting tool and then a handsaw to finish the cut.
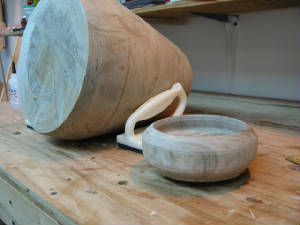
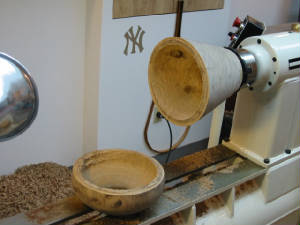
This is the top section, now mounted by itself in the chuck.
The bottom section without the top.
Showing the top rough turned.
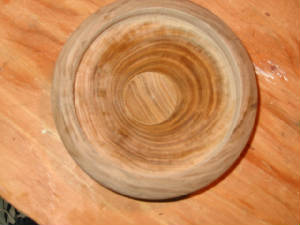
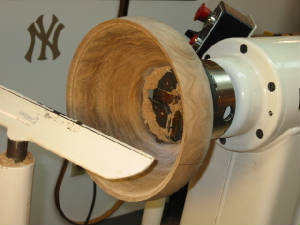
Looking into the top after it has been hollowed and shaped.
Note the plug.
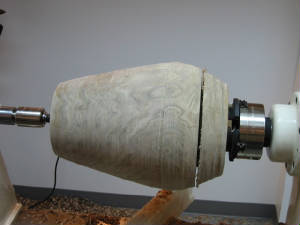
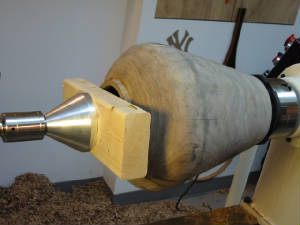
Now the bottom section is remounted on the lathe,
the chuck grabbing the tenon at the bottom of the urn,
and the tailstock brought in for support.
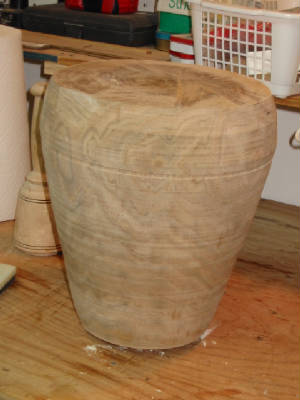
After shaping the urn, the neck at the top is made
and
roughly sized so that the top can be fit later.
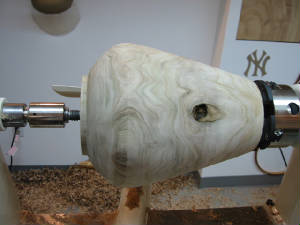
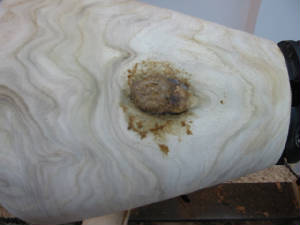
A large knot hole, filled with sawdust and CA glue.
This will be sanded flush later.
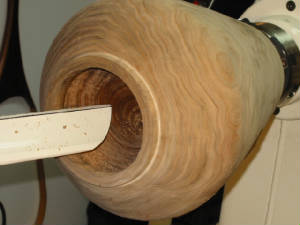
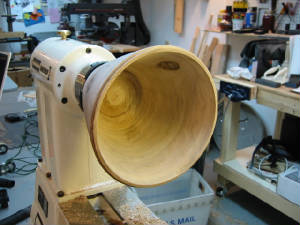
The hollowing begins.
Partly hollowed out. The hollowing becomes too difficult
with the tools I am using, so…
…the urn is cut apart at the widest diameter location.
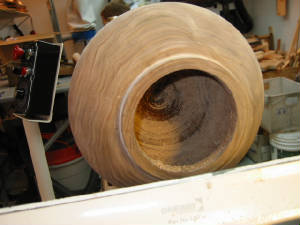
The top third of the urn is mounted, using the chuck, and hollowed.
The bottom two-thirds section is mounted and hollowed.
Now the two sections are glued back together, using the tailstock
as a clamp.
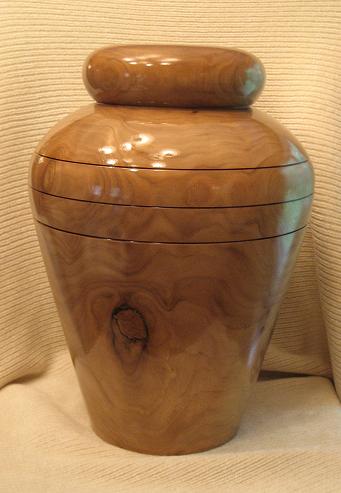
Note the glue line going around the urn. Next, the outside of the urn is dressed
with some finishing cuts and sanding. The neck is sized to precisely fit the top,
which is friction fit onto the base and finish turned (not shown here).
The glue line is hidden by burn lines.
The glue joint is at the line closest to the bottom of the urn.
Here the urn is reverse mounted using a jam chuck
made from scrap and the tailstock brought up for support.
While the urn is reverse mounted, I turn the base
slightly concave so it will not wobble while standing upon a surface.
Also, lines are cut into the bottom, around which
the inscription will later be written.
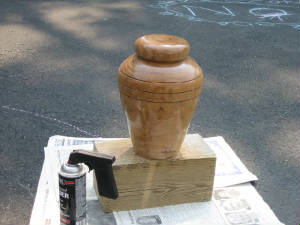
The urn is finished with a spray lacquer, followed by paste wax.
The finished urn.